Introduction to Postgres
"Data Persistence" (the ability to "persist" or "save" new, updated or deleted information) is a vital part of any web application project. For example, this could be registering new users, deleting users, updating profile information or payment data for users, viewing saved files or uploaded images, etc. etc. To truly create an "application" we must be able to work with (and persist) data.
Fortunately, there are many different database systems that we can leverage to accomplish this notion of "data persistence". These range from powerful "relational" database systems, including: Microsoft SQL Server, Oracle, MySQL, PostgreSQL, and many others as well as "NoSQL" database systems such as Amazon's DynamoDB, Azure Cosmos DB and MongoDB.
We will be focusing specifically on PostgreSQL and MongoDB - today, we will look at how we can work with a PostgreSQL database in a node.js environment.
PostgreSQL (Postgres)
From the PostgreSQL site, postgresql.org:
"PostgreSQL (also known as "Postgres") is a powerful, open source object-relational database system. It has more than 15 years of active development and a proven architecture that has earned it a strong reputation for reliability, data integrity, and correctness. It runs on all major operating systems, including Linux, UNIX (AIX, BSD, HP-UX, SGI IRIX, macOS, Solaris, Tru64), and Windows. It is fully ACID compliant, has full support for foreign keys, joins, views, triggers, and stored procedures (in multiple languages). It includes most SQL:2008 data types, including INTEGER, NUMERIC, BOOLEAN, CHAR, VARCHAR, DATE, INTERVAL, and TIMESTAMP. It also supports storage of binary large objects, including pictures, sounds, or video. It has native programming interfaces for C/C++, Java, .Net, Perl, Python, Ruby, Tcl, ODBC, among others, and exceptional documentation.
This is a great choice for us for multiple reasons; it is open source, highly available, standards compliant and most importantly, works nicely with node.js.
To get started, proceed to https://neon.tech and click on the "Log in" link at the top and log in with your GitHub account. Once you're logged in, follow the below steps to set up the database:
in the "Get started with Neon for Free" page, enter a value for project Name, ie: Seneca and Database Name, ie: SenecaDB (We can add more databases later)
Leave "region" as the default value and Click the Create Project Button.
At the next screen, you should see a dropdown with "Connection String" selected. Click this and choose Parameters only.
Next, click the eye icon to reveal your password (NOTE Also consider checking the "Pooled connection" checkbox if this app will be deployed in a serverless environment, such as Vercel)
Copy the PGHOST, PGDATABASE, PGUSER and PGPASSWORD values
pgAdmin
Now that we have our brand new Postgres database created in Neon.tech, why don't we try to connect to it using the most popular GUI tool for Postgres; pgAdmin. If you're following along from the lab room, it should already be installed. However, if you're configuring your home machine, you will need to download pgAdmin:
Once it is installed and you have opened the app, we need to configure it to connect to our database:
Right Click on the "Servers" icon in the left pane (Under "Browser") and select Create > Server
This will open the "Create - Server" Dialog window. Proceed to enter the following information about your Postgres Database on Neon.tech.
Field Value Name This can be anything you like, ie "Test Connection" (Connection Tab) Host This is the server for your Neon.tech Postgres DB ("PGHOST" value), ie: ab-cd-12345.us-east-2.aws.neon.tech (Connection Tab) Port This is the port for your Neon.tech Postgres DB - it should be the same as what's already there, ie: 5432 (Connection Tab) Maintenance database Enter your "PGDATABASE" value here (Connection Tab) Username Enter your "PGUSER" value here (Connection Tab) Password Enter your "PGPASSWORD" value here Once you have entered all of your information, hit the "Save" button and click "Servers" in the left pane to expand your server connections. If you entered valid information for the above fields, you should see your Neon.tech Postgres DB Connection. Expand this item and the following "Databases (2)" item, and you should see your database. Expand this item, as well as the nested "Schemas (1)" item, followed by the "public" item, and you should be presented with something that looks like this:
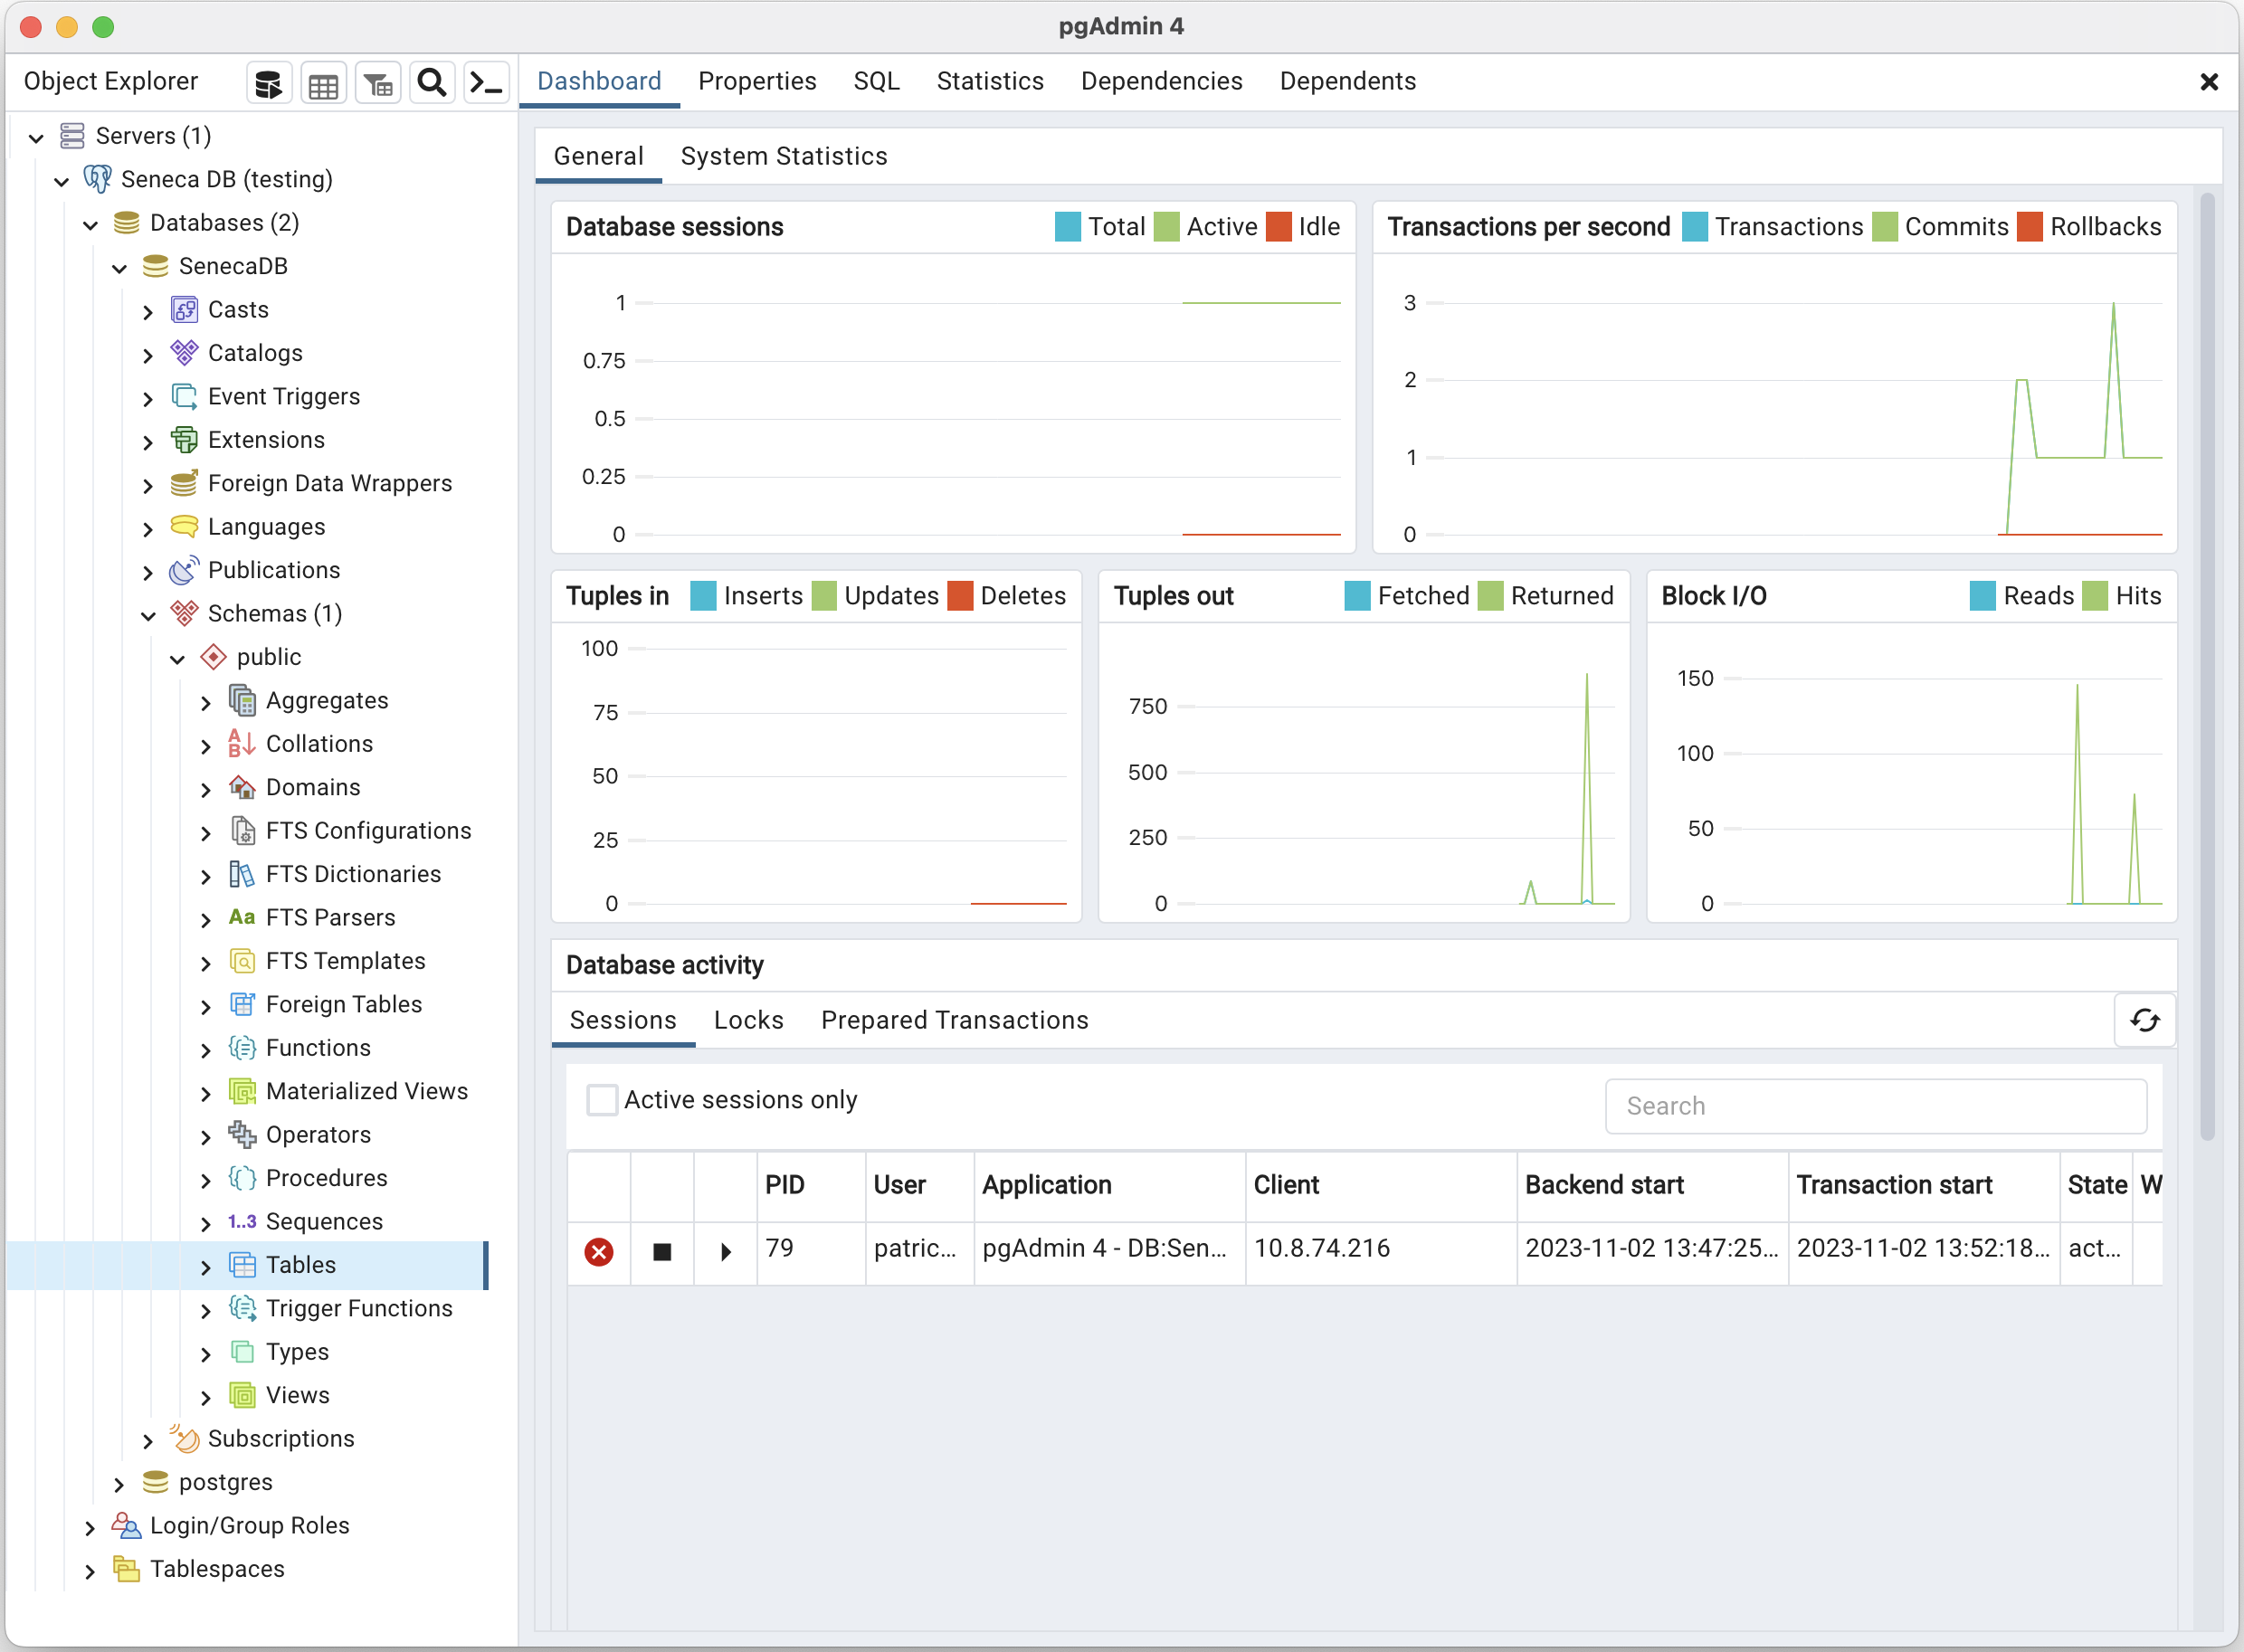
Success! We will be keeping an eye on our data using this tool, so it is wise to have it running during development.